How to Put a Picture Onto A Cake – Methods, Equipment, Tips to Put an Image on a Cake

Whether you’re a newbie in the baking world, or whether you’re a veteran baker, you have probably wondered how to put a picture onto a cake at least once in your life.
And don’t worry, you’re definitely not alone! For most of us out there, photo cakes make the top of the list of intimidating baking recipes. But here’s a fun fact, it’s ridiculously easy!
This is me telling you to drop all your baking worries. By the end of this blog, you will know how to put a picture on a cake at home, and you will know it like a pro!
How to Put a Picture on a Cake?
Frankly, there are many ways you can go about this. You could use the standard edible sheets and transfer the print onto the cake. Also, you can use a variety of edible markers, pigments, or even airbrushes to paint an image onto your cake. Depending upon your budget, your equipment, and your baking skills, you can make an informed decision.
Equipment Needed to Print Picture On the Cake
- Printing/Tracing method– You will need edible icing sheets, a printer with edible inks, a pair of scissors, edible markers and crayons, piping bags and nozzles, and icing or buttercream. Keep in mind that this method can be expensive due to the requirement of a separate printer.
- Frozen Buttercream transfer method- For this technique, you will need buttercream, parchment paper, piping bag and nozzles, a mirror image printout of the desired image you want to transfer, and masking tape.
The Printing Method On the Cake
This one is probably the most efficient but will also cost you more compared to others. In simple terms, it is absolutely easy to use this method to transfer the image to the cake. As I mentioned before, the printer can be very expensive, and you don’t really need to buy one unless you’re in the baking business and will frequently need it. There are many bakeries out there that offer their printing services to print out your desired image onto an edible sheet of paper.
To use the printing method, you will need to follow these steps:
- Keeping in mind the size of your cake, find a high-resolution picture that you want to print and make sure it is not saturated in terms of the quality of the image.
- Print it using a printer specifically meant for edible inks, or just go to a bakery and obtain a readymade edible sheet printed with your desired picture.
- Place your edible sheet in the fridge for 5 minutes before using it.
- Take it out and cut it as close to the borders of the image as possible.
- Remove the plastic seal from behind the edible sheet and gently place the sheet on your cake.
- To go the extra mile, you can place your edible sheet on a thin sheet of fondant, cut the fondant to the exact size of the image, and then go ahead and place the fondant-topped image on the cake.
You can also refer to this video from Legacy Cakery to further clear your doubts regarding how to put a picture onto a cake and how to apply it.

Tracing Cake with Edible Sheets
If you do not have an edible ink printer at hand but would still like to achieve the accuracy that comes with it, this option is definitely for you. You’ll just need a few edible markers, an edible icing sheet, and your printout!
In order to trace the image with the edible sheets method:
- Print your image using a regular printer, keeping in mind the size of your cake.
- Using an edible marker, trace this image onto your icing sheet.
- Cut your icing sheet as close to the border of your image as possible and place it onto your cake.
- Using a small writing nozzle, fill in the image using various colors.
- Let it freeze for a couple of minutes and you’re done!
You may also like: How Long Is Cheesecake Good For
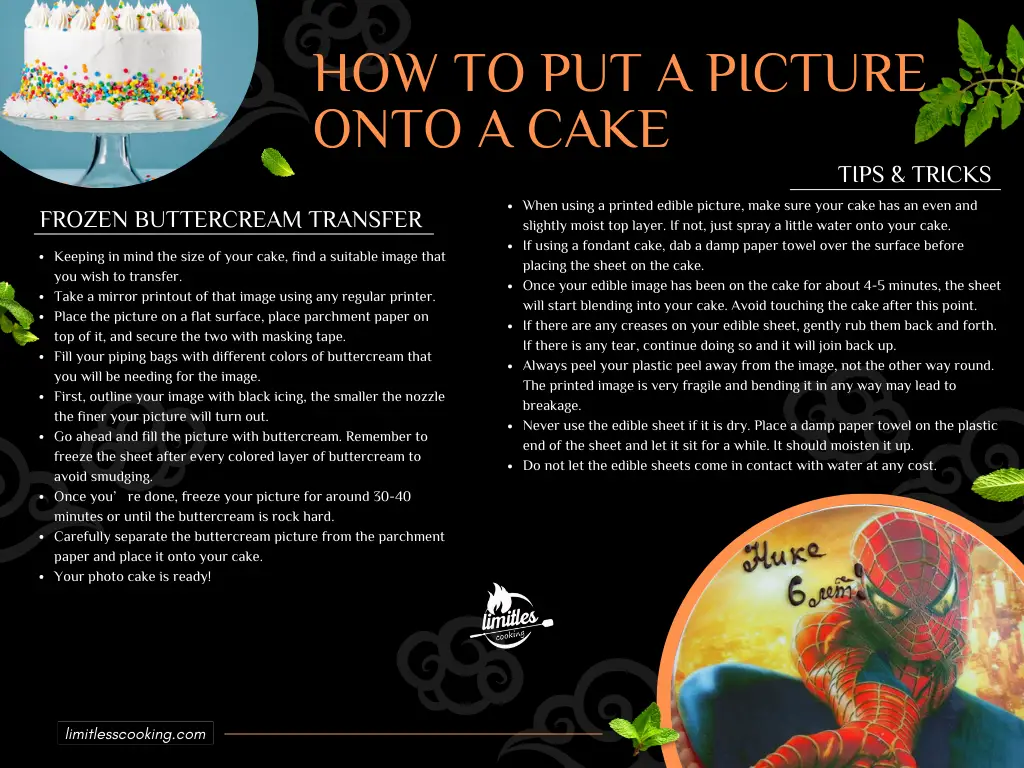
Frozen Buttercream Transfer Method
While this method is certainly a lot more time-consuming than the other, it tastes a lot better and offers a three-dimensional look to your cake. Just make sure you have a good 2-3 days at hand and you’re good to go!
For a frozen buttercream transfer, you’ll need to do the following things:
- Keeping in mind the size of your cake, find a suitable image that you wish to transfer.
- Take a mirror printout of that image using any regular printer.
- Place the picture on a flat surface, place parchment paper on top of it, and secure the two with masking tape.
- Fill your piping bags with different colors of buttercream that you will be needing for the image.
- First, outline your image with black icing, the smaller the nozzle the finer your picture will turn out.
- Go ahead and fill the picture with buttercream. Remember to freeze the sheet after every colored layer of buttercream to avoid smudging.
- Once you’re done, freeze your picture for around 30-40 minutes or until the buttercream is rock-hard.
- Carefully separate the buttercream picture from the parchment paper and place it onto your cake.
- Your photo cake is ready!
If you have further doubts or need guidance, you can watch the following video to know more!
Tips and Tricks for Putting Picture On the Cake
- When using a printed edible picture, make sure your cake has an even and slightly moist top layer. If not, just spray a little water onto your cake.
- If using a fondant cake, dab a damp paper towel over the surface before placing the sheet on the cake.
- Once your edible image has been on the cake for about 4-5 minutes, the sheet will start blending into your cake. Avoid touching the cake after this point.
- If there are any creases on your edible sheet, gently rub them back and forth. If there is any tear, continue doing so and it will join back up.
- Always peel your plastic peel away from the image, not the other way around. The printed image is very fragile and bending it in any way may lead to breakage.
- Never use the edible sheet if it is dry. Place a damp paper towel on the plastic end of the sheet and let it sit for a while. It should moisten it up.
- Do not let the edible sheets come in contact with water at any cost.
You may also like: How to Soften Cream Cheese Quickly
FAQ
What sort of icing works best with edible images?
You can never go wrong with buttercream icing. However, if you are using high-fat, creamy icings it is advised that you first place a thin layer of fondant beneath the image to avoid smudging or mixing of the image with icing.
Why isn’t my edible image coming off the backing sheet?
If your edible pictures won’t come off the plastic peel, simply use a blowdryer over it for 30-60 seconds. It will come right off.
How long can printed edible images last?
On their own, and if stored refrigerated, they can last for 2-3 weeks. But once you place your image onto your cake, you have about an hour or two in hot conditions before it starts melting with the icing.
How to store edible icing sheets?
When storing unused edible sheets, remember to keep them in a resealable bag in the fridge. Keep them in a cool and dry place and never freeze them.
What does edible icing paper taste like?
Edible icing paper will usually just have a slight vanilla flavor or no flavor at all. It will never overpower the taste of your icing or cake.
Conclusion
Photo cakes are definitely not as intimidating as they sound, and with the right amount of practice, you can rock them as well as any local bakery you know. Now that you know how to transfer your photos on cakes, there should be nothing stopping you from baking that cake after all! And if you need any further assistance, feel free to drop by with your baking questions.